Showing posts with label Scalloped Heart of Hearts. Show all posts

Wednesday, February 6, 2013

Valentine Favors and PPA Sneak Peek


Tomorrow begins another chance for YOU to s-t-r-e-t-c-h your creativity and play along with Pals Paper Arts! Above is a tiny piece of my card for the week's challenge. We hope you join our Design Team, using our inspirations, and upload your card or project. THAT is called "playing along!"


Today, I thought I would show you a Valentine favor that I created for all of my Workshop attendees this week. Simply put some Valentine candies into our plastic sleeve. Seal it up. Decorate! 

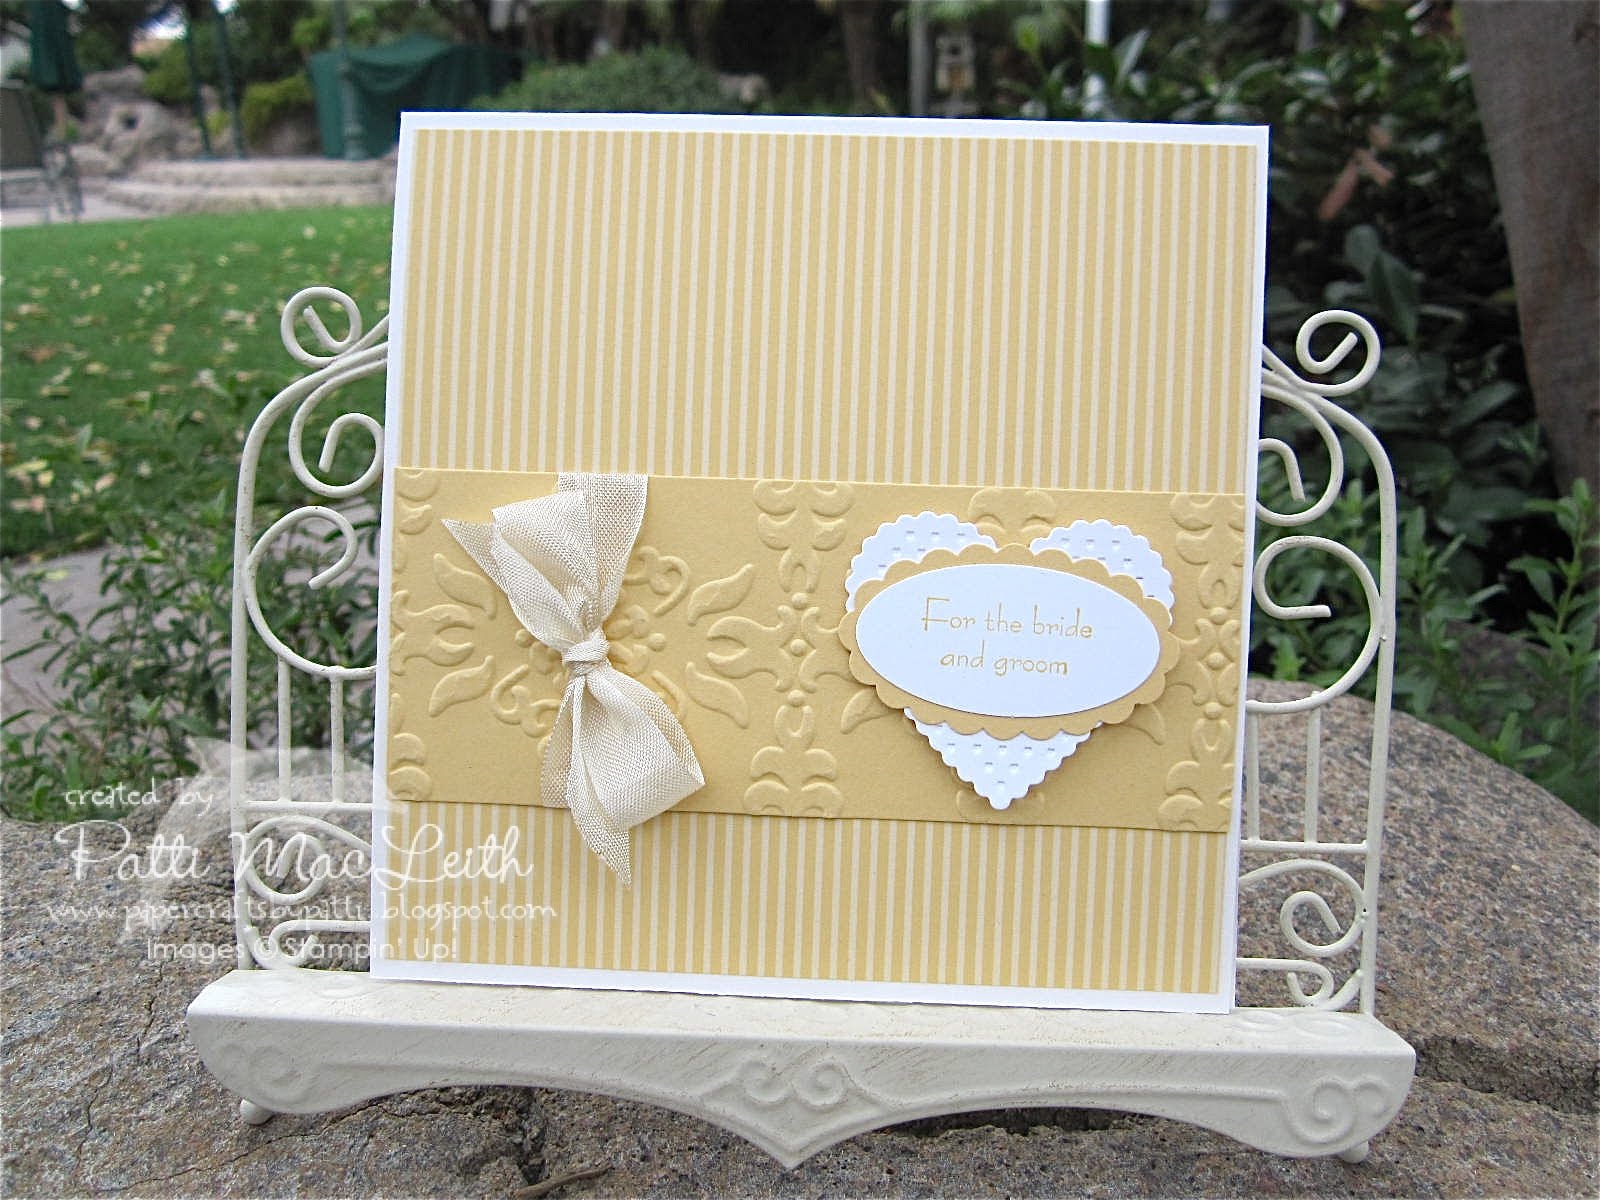
Here I stamped one of the images from Artistic Etchings in Craft White onto Pool Party card stock. I embossed the image using White Embossing Powder. Then, I cut out the image using the Large Heart Punch. I framed it with a Melon Mambo Scalloped Heart of Hearts Embosslit. I adhered that over the chevron banner image from the Border Banter stamp set in Basic Gray. Lastly, I added a Pool Party 1/4" satin ribbon that I got *FREE* from the Sale-A-Bration brochure. 

Don't forget that with EACH $50 order you place, you receive one *FREE* item from the Sale-A-Bration brochure until March 22nd. There is no limit to the number of free items you can receive!

To place your order, please visit my Website.

Thank you for visiting today, and don't forget to check out my Pals Paper Arts card tomorrow!


Friday, May 27, 2011

Strawberry Festival


Happy Weekend everyone! I hope you have a nice extra day off, but don't forget what the Memorial Day is all about. Let's take some time to remember all of those who gave their all for our freedoms!

In our town, we have a Strawberry Festival and Parade every Memorial Day weekend. There is a parade that is very close to our home, so we usually walk on over and check out the celebrities and the local groups that march, play music and entertain the crowds. There is the World's Largest Strawberry Cake cutting, carnival rides, a Red-Head Roundup, Seniors Strawberry Ball, vendors, crafters and lots of great food, all fund raisers for local groups. It's a tradition and we love it! I will be walking over to the festival grounds to have my Strawberry Royale-mmmmmmm!

I thought I'd celebrate by making this strawberry card. My friend, Diana, made me a card with a strawberry like this, and I gave it my own twist. It's so easy! I had been neglecting my rhinestone brads, thinking they were retired and I shouldn't be using them, but they are not!! I have so many, so you will be seeing more of them on my blog.

This card was so very quick and easy. Enjoy!

Supplies:
Card Stock: Daffodil Delight, Whisper White, Pear Pizzazz, Real Red
Designer Series Paper: Pawsitively Prints
Stamps: Teeny Tiny Wishes
Ink: Real Red
Extras: Word Window, Modern Label, Scallop Edge and Boho Blossoms Punches, Birds and Blooms and Heart of Hearts Sizzlits Dies, Big Shot, Square Rhinestones, Stampin' Dimensionals, Glue Dots

For your Stampin' Up! supplies, I hope you will use my Website to order.

Tuesday, January 25, 2011

Sale-A-Bration/Valentine Workshop!!

Sale-A-Bration 2011

Stampin' Up's biggest sales event of the year! Four great Sale-A-Bration stamp sets plus Designer Series Paper, QuickAccents Pack, Ribbon & Button Pack, Digital Downloads and Decor Elements are all included in the Sale-A-Bration flyer from today through March 31, 2011.

Here's how it works:

Spend $50 (before tax and shipping) on any Stampin' Up! products and you will choose one free product from the brochure. If you spend $100, choose two items, etc. There is no limit. And, in addition to the new and temporarily available products shown in the brochure, you can substitute any one wood-mount stamp set of $14.95 or lesser value OR any one clear-mount stamp set of $11.95 or lesser value from the Idea Book & Catalog. So there are many options for your *free* items!

Place your order using my website any time. If you have any questions, please email me.


Here is what we made at my workshop last night. We had so much fun and I had a great group of ladies who know what they are doing and enjoyed playing with some of our new tools and the Filled With Love promotion items.

My card is an original design that I came up with while playing with the banner from our new Petal Cone Bigz Die. I scored it at 1" and 1.5", then turned it and scored at 1" and 1.5" again. Stamp the sentiment in the middle (some of us used the Stampa-ma-jig for perfect placement) and pop the banner up with Stampin' Dimensionals. The Scallop Trim Border punched accent behind the banner is done in Brushed Silver, so there is Glimmer from the red heart and Shimmer from the paper!


For this "sweet" box, we wrapped chocolate nuggets with 1" x 3" pieces of Love Impressions Specialty Designer Series Pack and then decorated it using two of the stamps from Filled With Love. The tag is made by stamping the "LOVE" sentiment in Real Red, then using Stampin' Write markers to color the Feb 14 in Real Red and Basic Black. Cut the "O" out using the 1" punch and you have what looks like those tags that are bordered with silver, but you made your own. You can stamp the "LOVE" in any color and have a border for small stamps. The box and the Basic Black cut out are form the Bigz Matchbox Die, which is new for me and I am LOVING it. Why didn't I get this earlier??

Thanks for visiting. I love your comments, so please leave one below. Have you signed up to receive my posts every day? It's the easy way to see my creations!

Monday, January 24, 2011

Filled With Love Valentine

I am having a workshop tonight and this is one of the items we will be making. I will show the other items in tomorrow's post. I have two ladies coming who are first-timers and I'm sure this will be fun for them to create.

If you need any Stampin' Up! You can order from me 24/7 by using my website. Don't forget that TODAY is the last day to order the Filled With Love Bundle. Details here.

Thursday, December 2, 2010

PPA 71 - Celebrity Color Challenge

Pals Paper Arts Celebrity Color Challenge is underway! Won't you join us by making something using our colors and posting to our website? It's fun and you will be in such fantastic and creative company!
This week's celebrity is none other than Julee Tillman. Julie is the owner and illustrator of Verve Stamps. She also posts weekly at Mojo Monday and many of those sketches are her own design.

Here is how I made my card:

1. Stamp So Cute cupcake in Early Espresso onto Whisper White card stock.
2. Color image using Stampin' Write Markers in colors: Soft Suede, Pear Pizzazz, Regal Rose.
3. Punch out with Full Heart punch.
4. Use Embosslit Scalloped Heart of Hearts and cut out of Pear Pizzaz card stock.
5. Adhere Full Heart to Heart of Heart. Attach Stampin' Dimensionals onto the back.
6. Fold a 5.5" x 8.5" piece of Early Espresso card stock in half.
7. Cut a 4" x 5.25" piece of Regal Rose Patterns Designer Series Paper. Use the Eyelet Border punch on one 5.25" edge.
8. Run a 2" x 5.25" piece of Whisper White card stock through your Big Shot with the Polka Dot Impressions Folder. Eyelet Border punch the 5.25" edge.
9. Use your Dotted Scallop Ribbon punch on a piece of 5.5" piece of Pear Pizzazz.
10. Attach all elements according to the photo. You are finished!!


If you do create your own card using my layout, I'd love to see it! You can email it to me or send me a link to your online gallery or blog.


Sunday, October 31, 2010

So Saffron Wedding


My friend's son is getting married next month, so I am not wasting any time getting my card ready! Now all I need is a gift. This card was super simple to make, but I think it looks very special.

I made it square to fit Stampin' Up! square envies and I made the envelope flap match, although I didn't picture it here.

I used the Vintage Wallpaper Embossing Folder to jazz up the middle part of the card and I attached my sentiment to it and tied a piece of seam tape in a bow.

Cards are quick to put together when you have your punches handy. A little tip that always gets me finished quickly is to have some sentiments already stamped onto neutral papers and then pop them out with a punch. Later you can add your borders in colors and put them together to frame your sentiment. Or, try making several in the same color schemes and have them laying on your desk top for a quick pop onto a plain card. I tell you that no matter how many cards you make, you sometimes don't have just the right sentiment when you need it.

Card Recipe:
Card Stock: So Saffron, Whisper White, Shimmery White
Designer Series Paper: Patterns Pack
Stamps: Blissful Bride
Ink: So Saffron
Extras: Very Vanilla seam tape ribbon, Vintage Wallpaper Embossing Folder, 1-3/4" x 7/8" Oval Punch, Scallop Oval Punch, Scalloped Heart of Hearts Embosslits Die, Big Shot

Friday, June 25, 2010

Wedded Bliss


Good day! Here is another larger card (finished size 5" x 7") because lots of people are going to sign it. I used this previous card for inspiration.

This time I made the card using some *NEW* as well as retiring products. New is: Blissful Bride stamp set and Daffodil Delight 1/8" taffeta ribbon.

Ingredients:
Card Stock: Very Vanilla, So Saffron, Night of Navy, Whisper White
Designer Series Paper: Bella Bleu
Stamps: Blissful Bride
Ink: Night of Navy
Extras: So Saffron Stampin' Write Marker, Heart Punch, Scalloped Heart of Heart die cut, Big Shot, Eyelet Border punch, Daffodil Delight 1/8" taffeta ribbon, Stampin' Dimensionals

For all of your Stampin' Up! products, please use my Website to order.

Thank you for all of your lovely comments. I read them all!

Thursday, May 6, 2010

PPA41 Inspiration


PPA41 Inspiration Photo


My "take" on the inspiration photo

What inspires you to create? At Pals Paper Arts we use sketches, color combinations or themes as a starting point to create our cards or projects. This photo has endless possibilities for endless results. Won't YOU play along with us and create?

When I chose the Eastern Blooms stamp set to create this card I knew I was going to use the colors on the stacked pitchers, but I didn't realize until I was finished that the flowers I chose almost match the flowers on the pitchers.... or did I subconsciously choose the stamp set based on seeing the pitchers?? It doesn't matter! I had so much fun creating this card. I matched the colors on the pitchers to Stampin' Up! colors Bordering Blue (retiring soon), So Saffron and Riding Hood Red (returning In Color).

  • I began by stamping these colors onto Whisper White card stock and just playing with how I would lay them out. I decided on a skinny strip, and to line them up spacing them equally using my Stampa-ma-jig.
  • Next I created my very own "designer paper" by randomly stamping another image onto Whisper White in the three colors.
  • I matted the strip with textured Riding Hood Red and then backed that with a thick band punched on one side with the Scallop Border punch.
  • For my sentiment, I chose Whimsical Words, punched it out with the Full Heart punch and matted it with the Scalloped Heart of Hearts Embosslit, punched out of textured Riding Hood Red. Isn't it exciting that RHR is coming back to our color families?

As you read this, I am on my way to visit my upline, Mary Fish, in Arizona. She is one of the winners of Shelli's Workshop of a Lifetime, and I am going to get to meet Shelli! I am so excited to meet Mary for the first time in person and also some of my fellow Stampin' Pretty Pals, more of Mary's downline! We keep in touch through our blogs and with SKYPE calls, but I have never met any of these wonderful stampers! I will be back next week with more creations.

Thanks for following, and please leave your comments; I always enjoy reading each and every one.

If you are in need of any Stampin' Up! Supplies, please use my website to order.

Thursday, February 18, 2010

Pals Paper Arts #30 K.I.S.S.

Keep It Simple Sweetie is the theme for this week's Pals Paper Arts Challenge. Won't you play along? Just create your *new* simple project and upload it to the Pals site using Mr. Linky. Please use PPA30 when you upload your creation to your blog or public gallery. You could be picked as one of three submissions and have your project *featured* on next Wednesday's post.

KISS Guidelines:
  • Clean with lots of "white" space
  • Simple Designs
  • Minimum time to create
  • Limited layers and embellishments

Here is what I used on the above KISS card:

Card Stock: Kraft, So Saffron, Green Galore, Taken with Teal, Whisper White
Stamps: Love Bug (hostess), Whimsical Words
Ink: Basic Black
Extras: Scallop Trim Border Punch, Embosslits Heart of Hearts Die, Stampin' Write Markers

You can shop with me any time by using my Stampin 'Up! Demonstrator Website.

Thursday, December 31, 2009

Pals Paper Arts #23

Happy New Year! I made this heart because there is a lot of love in our future in 2010. Our daughter is getting married.
I began with an inspiration from Stampin' Up's Stampin' Success Magazine for Demonstrators. There was a crown which had the same papers and similar embellishments. Here is how I made my project:

  • Stamped snowflakes onto Bride's Specialty paper with Versa Mark and heat embossed with Heat N Stick Powder, then sprinkled on Dazzling Diamonds glitter and shook off the excess. I cut the heart out of Bride's Specialty Paper, and also cut out another heart from some cardboard. I cut an additional heart shape of designer paper to cover the cardboard and ribbon hanger in back.
  • Used white crepe paper streamer to make a ruffle for around the heart. I stapled it every half inch to keep it together while i was making it, then taped it on with Sticky Tape. I adhered the designer paper using pop dots because the crepe paper ruffle is pretty thick.
  • To make the banner of fluff across the middle, I used a 1-1/2" piece of Bella Blue print and trimmed it with my Scallop Edge punch. I adhered another print behind it that was 2" wide. Behind that I adhered a horizontally cut piece of newspaper about 2-1/2 inches tall. I kept the scalloped edge away from the other two pieces of paper while I shredded them very thinly using paper snips. I mangled both edges (as well as the crepe paper ruffle) to keep a "vintage" feel.
My embellishments are:
  • Build-A-Brad I stamped with "2010" from the Calendar Alpha Numbers stamp set, stamped onto a white cupcake paper (crinkly and vintage-feeling) and backed with a Boho Blossoms punched piece of Bella Bleu paper
  • "Celebrate" from the Fundamental Phrases stamp set, also stamped onto a cupcake paper, cut out like a banner and matted with Kraft card stock. This was embellished with a rhinestone brad and a flower punched from Bella Bleu using the Boho Blossoms punch
  • One Snowflake punched piece of textured Bordering Blue was embellished with a Filigree Brad and both snowflakes have a butterfly from the *new* (available Jan 5th) Beautiful Wings Embosslit. The butterflies on either side of the Celebrate sentiment are also from the Beautiful Wings Embosslit.
  • Textured Bordering Blue Heart is another *new* Embosslit: Scalloped Heart of Hearts. It has another butterfly and also a bow tied in silver cord. The sentiment across the bottom is isolated from the A Brand New Year stamp and one word from Mark the Date stamped in Not Quite Navy onto Kraft.
Did I miss anything? Whew! It was involved, but fun and totally worth it! I hope you can be inspired by all things you see during your day and then take the time to create!