

Showing posts with label Letterpress Plate. Show all posts
Showing posts with label Letterpress Plate. Show all posts
Friday, January 21, 2011


Tuesday, January 18, 2011
Melon Mambo Pompom

I finally got to play with some new items from the Occasions Mini~ Here is the Pompom Trim in Melon Mambo that I just had to have. I put the trim on with Tombow Adhesive and I have an awning of (retired) Going Gray above it so it looks a bit more finished. But the edge is pretty and could be left out in the open, as well.
Also, I used the banner from the Petal Cone Bigz XL die. Isn't it sweet? I used a marker to isolate the words in the sentiment from Filled with Love so that it is one line instead of stacked. I slipped a (retired) piece of Clear Tinsel into the button holes and tied it in a bow--SPARKLES! But the place I started on this card is the piece of water color paper that is imprinted using my Lots of Love Letterpress plate. The texture on the paper really grabs the image and imprints it beautifully. I decided to leave it white-on-white for simplicity and I tore it into shape for the card.
I love to read your comments, so leave one, if you please.
Please email me if you have any questions, and don't forget you can order Stampin' Up! 24/7 from my website.

Thursday, January 13, 2011
Pals Paper Arts #77 and Blog Candy!!
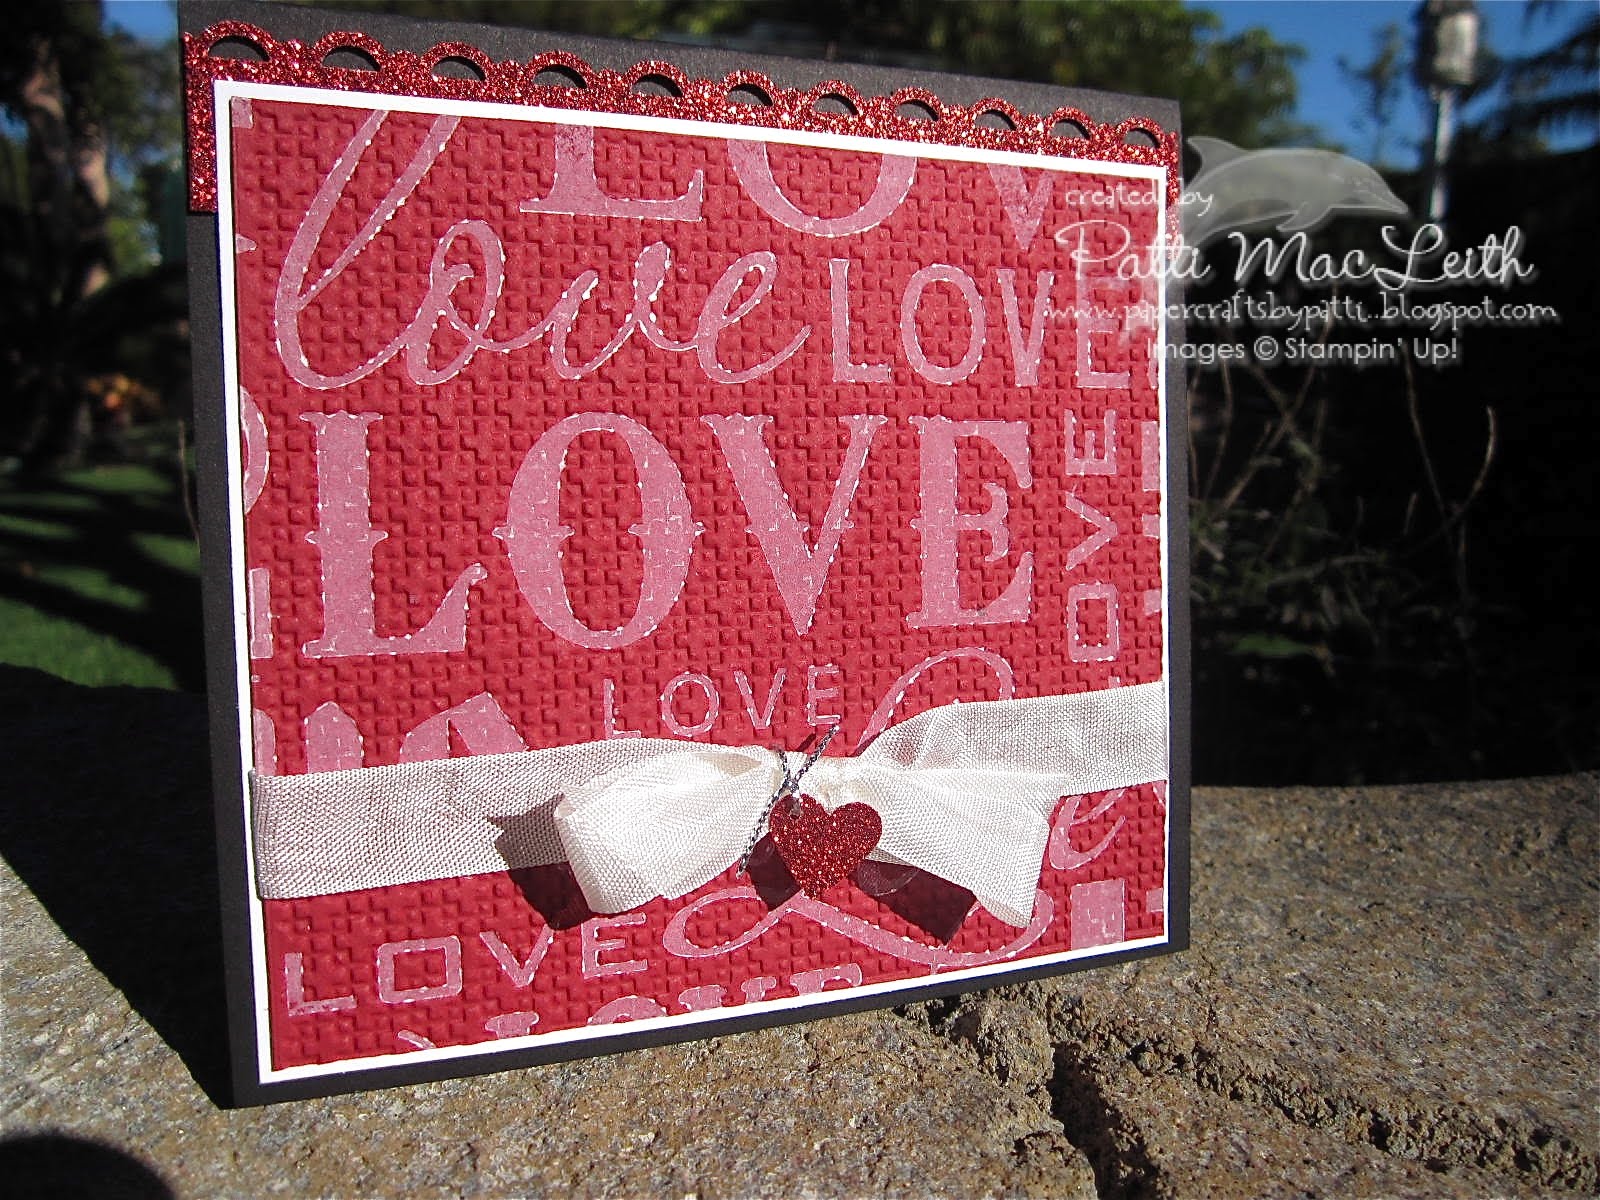

I told you there was some LOVE involved! Lady in Red-Valentine's is our theme.

Here's how I made my card:
- Basic Black card stock cut to 5-1/4" x 10", fold in half.
- Red Glimmer paper cut 1" x 6". Cut with Scallop Trim Border Punch. Trim to fit across top of card.
- Whisper White card stock cut 5" x 5-1/4"
- Cherry Cobbler card stock cut 4-7/8" x 5-1/8". Run through Big Shot using Square Lattice embossing folder.
- Ink Lots of Love Letterpress Plate with Very Vanilla Craft Ink. Use to "deboss" Cherry Cobbler card stock through the Big Shot. Let the ink dry completely. TIP: The Letterpress Plates are not very good with smooth card stock, but when you have embossed the card stock, it holds the ink just as well as water color paper!
- Tie a piece of Very Vanilla 1/2" seam binding into a bow around bottom half of Cherry Cobbler card stock.
- Punch with Small Heart punch from Red Glimmer Paper. Punch 1/16" hole in top corner. Hang on seam binding with thin silver chord or Linen Thread.
- Adhere Cherry Cobbler to Whisper White. Adhere Whisper White below the Red Glimmer Scallop at the top.
I am LOVING this Red Glimmer Paper from the New Mini. It shines just like glitter, but there is NONE of the mess of glitter I hope to see more colors of Glimmer Paper in the future!
I hope you enjoyed seeing my creation and I hope you will play along with us at Pals Paper Arts! We have BLOG CANDY this week. Check it out! You could win just by playing.
Subscribe to:
Posts (Atom)