
As promised, here is the tutorial on how to make the bookmark you saw on yesterday's post. Don't forget that you can receive one like this for *free* by ordering the Christmas Keepsake Box kit through my Demonstrator Website if you are one of the first FIVE to order. See this post for details.

1. 16" of 3/8" Quilted Satin Ribbon in Cherry Cobbler. Place 1" of Sticky Strip on each end of the ribbon. Put about 8" of Very Vanilla Seam Binding ribbon through a Wild Wasabi Designer button front to back and then back to front. Leave a loop in the back to thread your quilted ribbon through.

Peel the backing off of the Sticky Strip. Fold end of ribbon onto itself, making sure you catch the loop you left with the seam binding. Tie the seam binding in a bow.

Take a hair elastic and adhere through the other end of the quilted ribbon. Place two pieces of Stampin' Dimensionals down the middle of a Large Scallop Circle piece of card stock. Leave just enough room for the 3/8" ribbon to pass through the middle.


Both ends of the book mark ribbon. You are now ready to decorate the front side of your Large Scallop any way you wish.

For my 3-D decorating, I covered the Large Scallop Circle with Sticky Strip.

I cut out a bunch of Scallop Circles from card stock and Holly Berry Bouquet Specialty Designer Paper. I scrunched them up to distress them.

I wrapped each one around the eraser on the end of a pencil and adhere just the middle to the Large Scallop Circle until the flower burst was full enough.
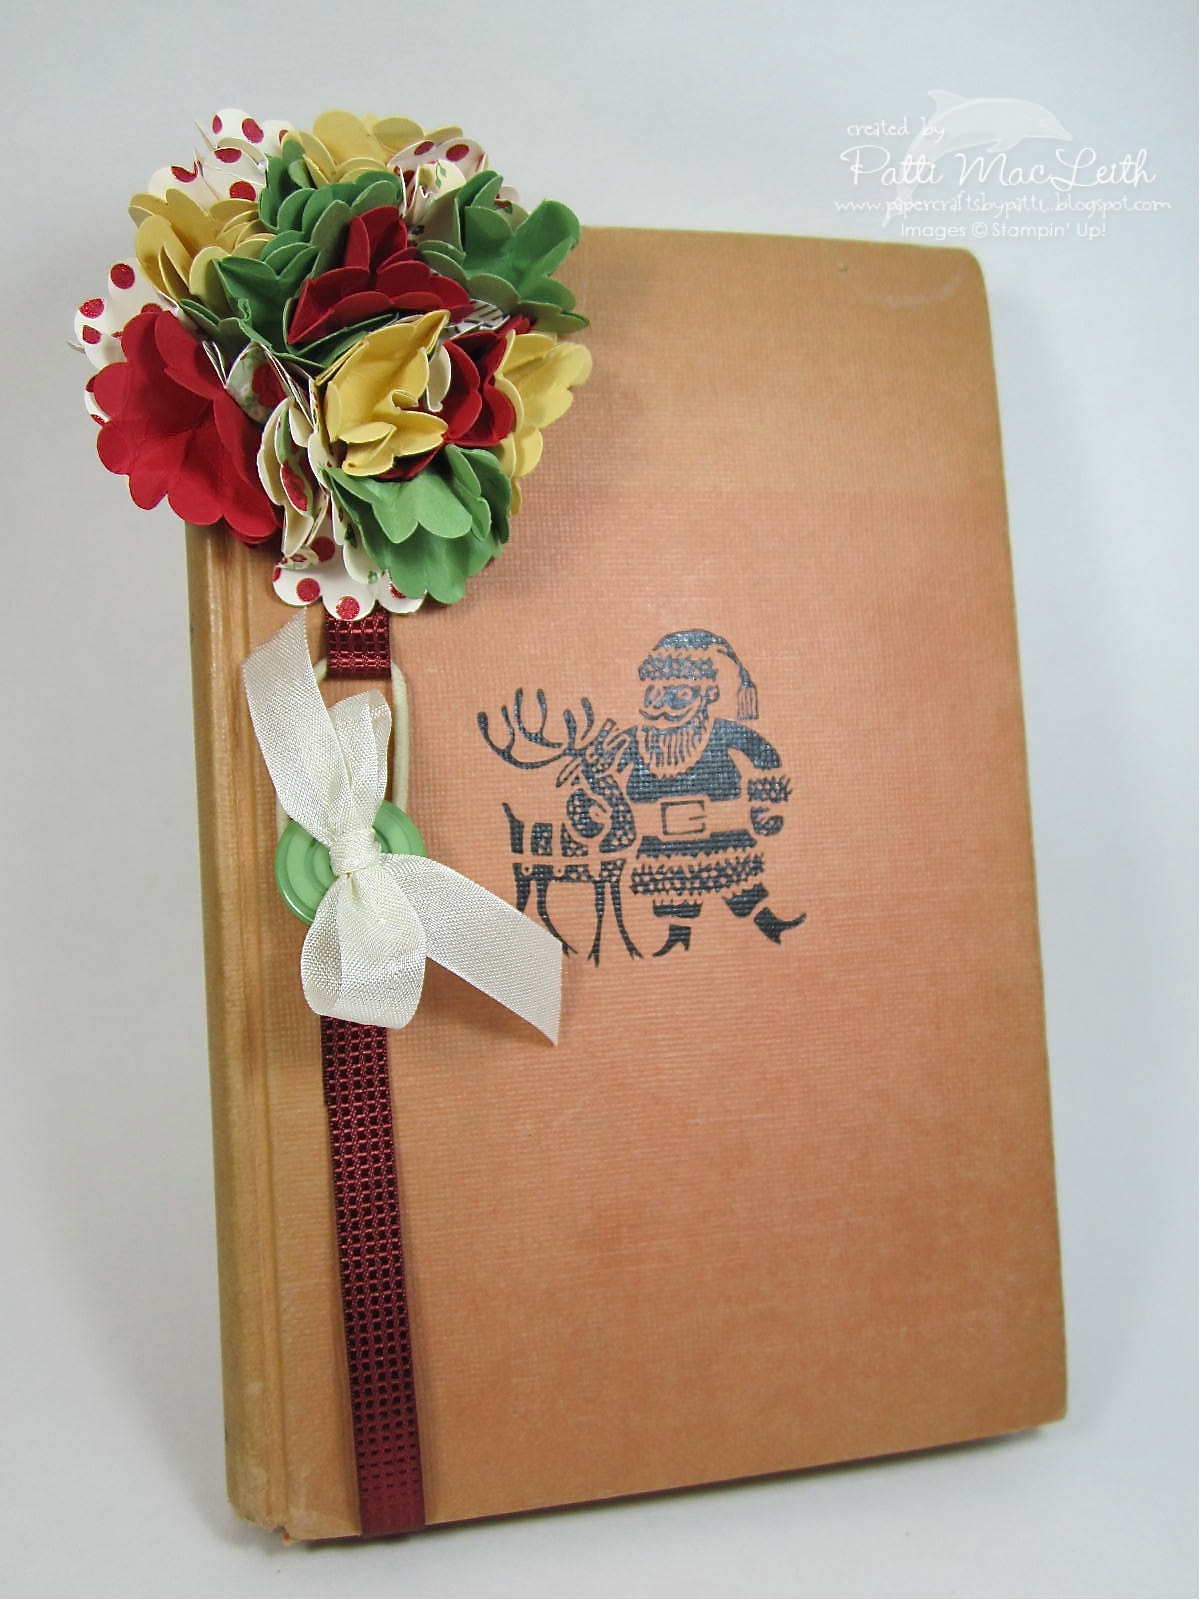
Here is my finished project. If you love giving books as gifts, you will love adding a personal touch by making these book marks! They only take a few minutes to make and you can match them to any book you are giving! The possible shapes you can use are endless. How about a label shape with someone's name instead of the scallop circle flower? A larger button? You could use any width of ribbon, also.

5 comments:
love it!
super cute Patti!
Fabulous bookmark Patti and such a great tut thanks for sharing!!! Hope you are having a GREAT weekend!
Thanks for the tutorial, Patti! This is adorable!
OMG this is too stinkin' cute! Love it.
Post a Comment